1.1 Setting up the Cap Table
A cap table is the foundation of your company’s financial and ownership structure. With Qapita, you can easily manage, track, and model ownership for all your stakeholders as your company grows.
Qapita’s platform enables companies to efficiently manage their equity with tools to:
- Track ownership and securities across stakeholders
- Model fundraising and exit scenarios
- Generate accurate financial reporting and compliance reports
- Provide stakeholders with secure access to their holdings
- Manage 409A valuations
- And much more – all in one integrated platform
This article will guide you through the initial steps of setting up a cap table on the Qapita platform. By the end of this walkthrough, you'll be able to add stakeholders, create security classes, set up share certificate templates, and add transactions.
Setting up your Cap Table
|
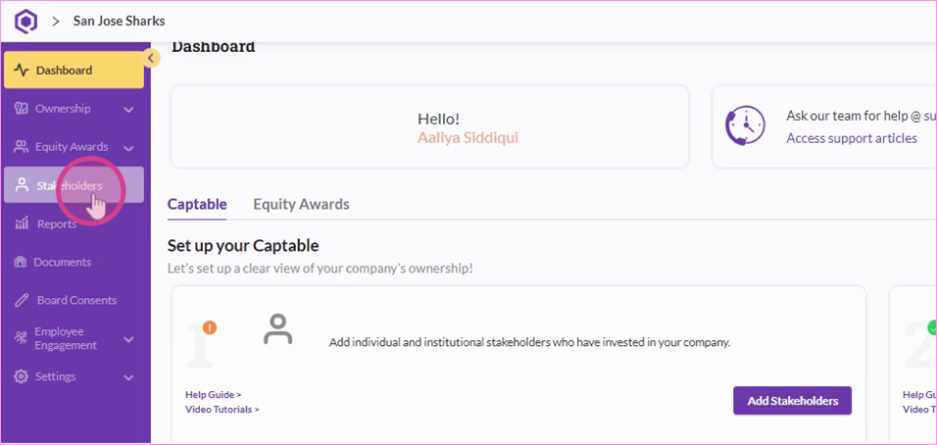
Step 1: Log in to the Qapita platform. In the left-hand menu, click on Stakeholders to manage stakeholder information.
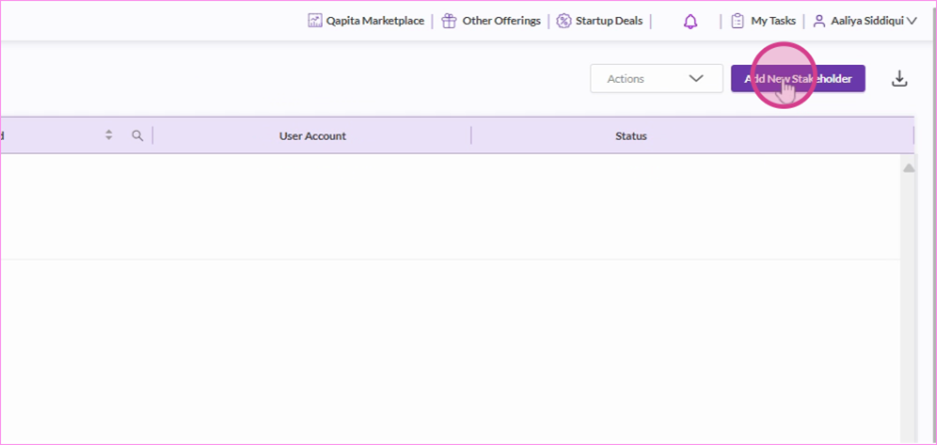
Step 2: Click Add new stakeholder.
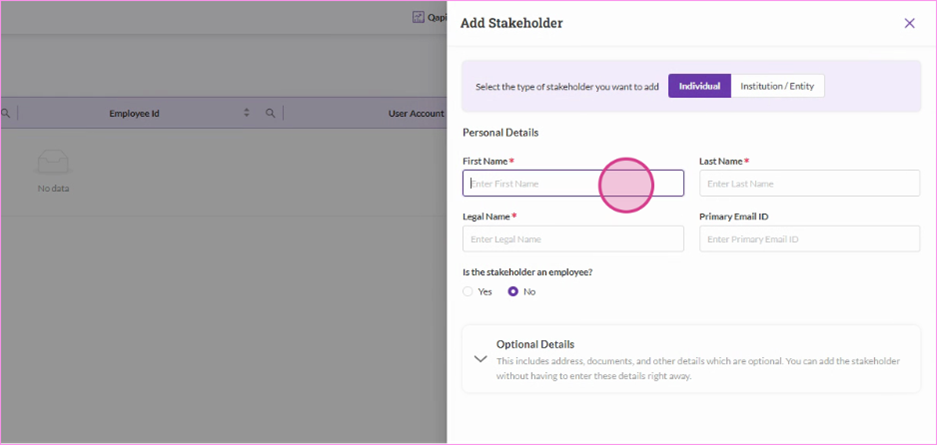
Step 3: Choose whether the stakeholder is an individual or institution. Fill in the required stakeholder details, then click Add to complete the entry.
Step 4: Next, let’s add a Security class. In the left-hand menu, click Ownership and select Security classes.

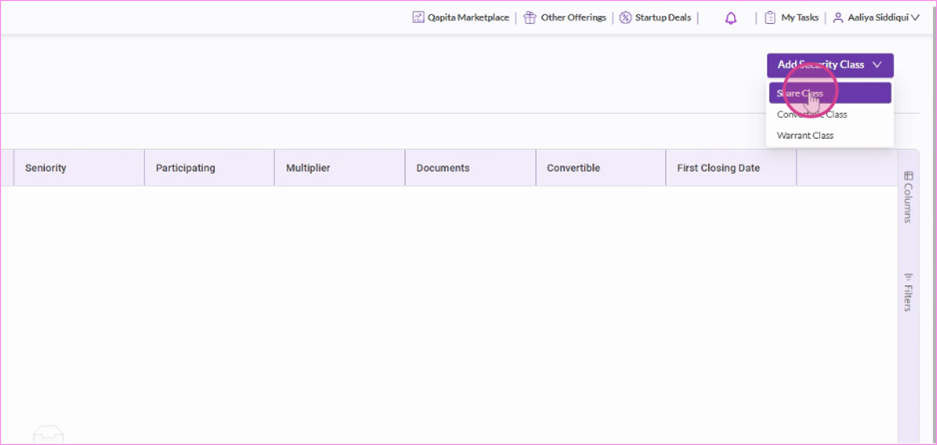
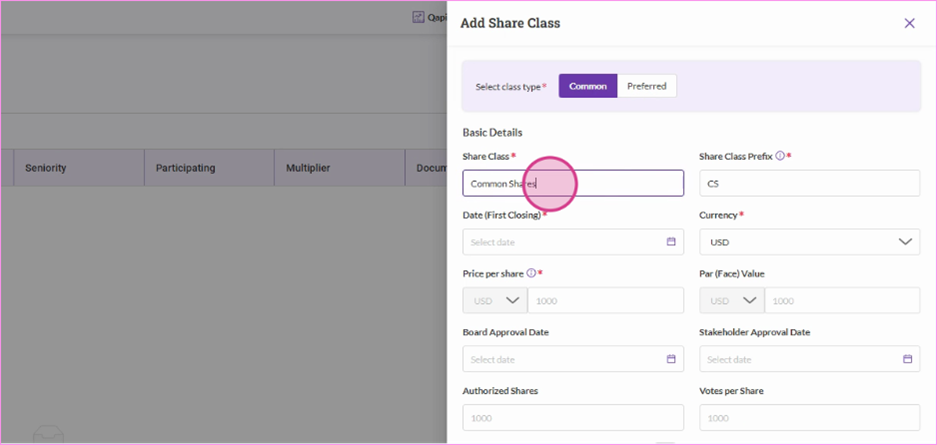
Step 5: Click Add Security class and select Share class.
In addition to Share class, you can also add other types of security classes, such as Convertible class or Warrant class.
Choose between Common or Preferred, enter the class details, and then click Add to create the security class.
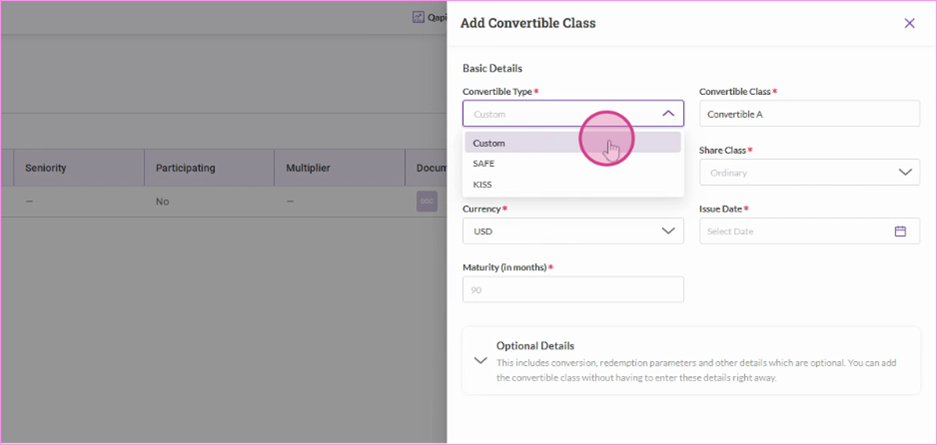
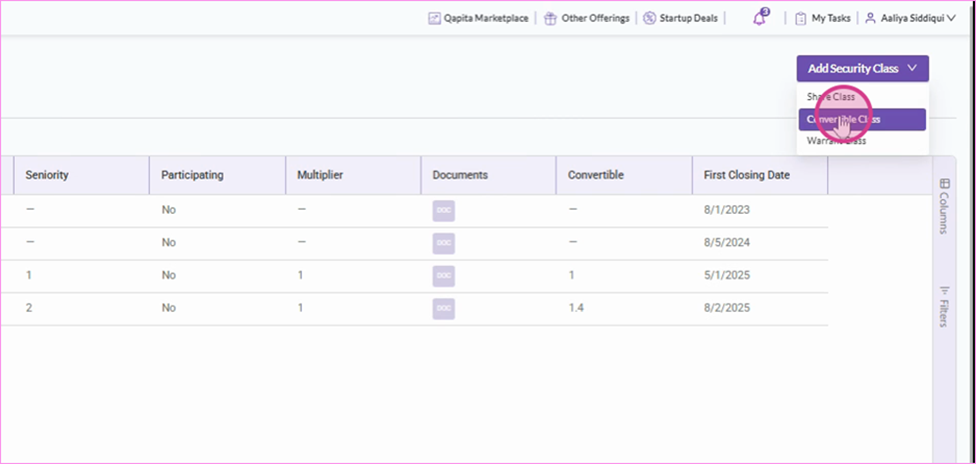
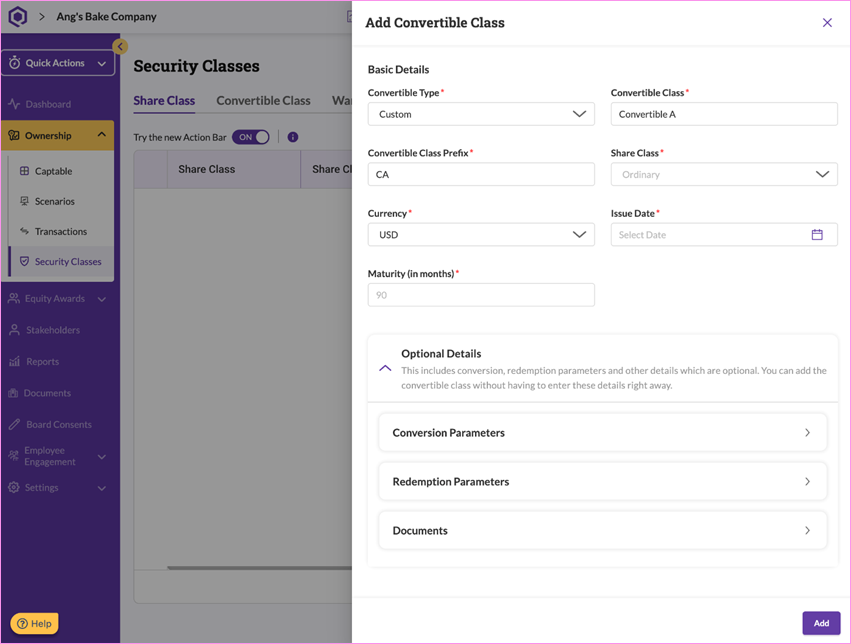
Step 6: To add a Convertible class, go back to the Security Class page, click Add Security class then select Convertible class from the options.

Choose the type of convertible instrument, fill in the required details, and click Save to add it to your cap table:
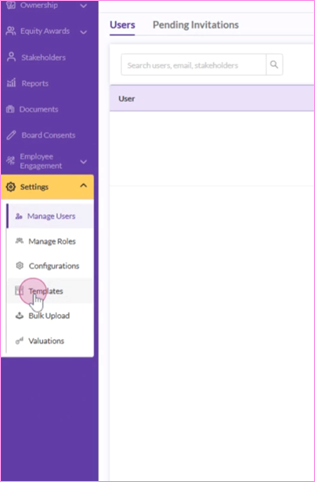
Step 7: Proceed to add a share certificate template. In the left-hand menu, click on Settings, select Templates, and click on Add new template.
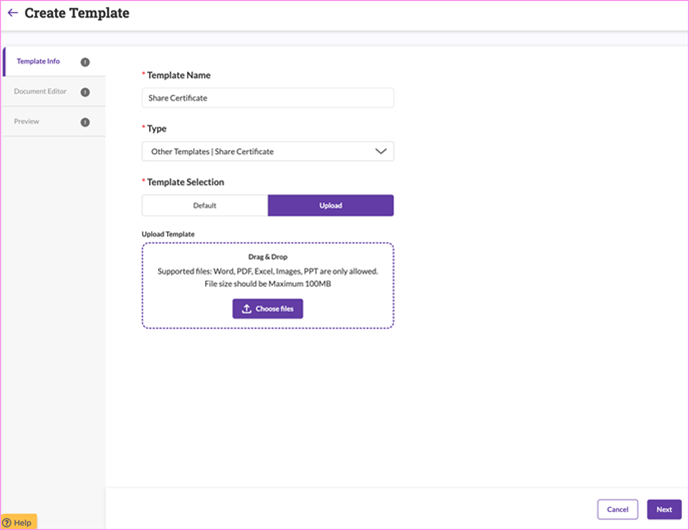
Step 8: Name and select your template type. Then you can either use the default template or upload a customized one by selecting your file. Once you’ve chosen your file, click Next.
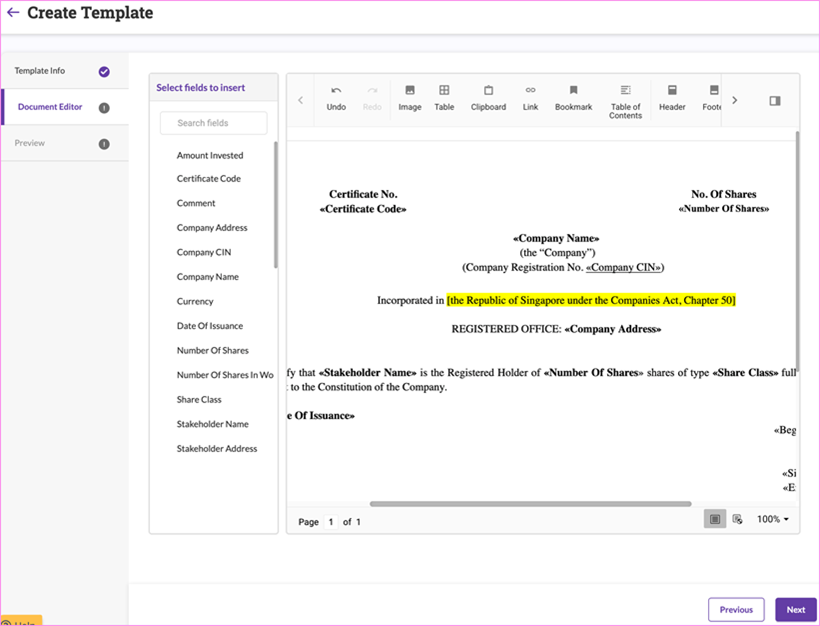
Step 9: From the left-hand menu, select the fields you want to add to the template. For example, you can include fields like Company Name, which will automatically populate in your share certificate:
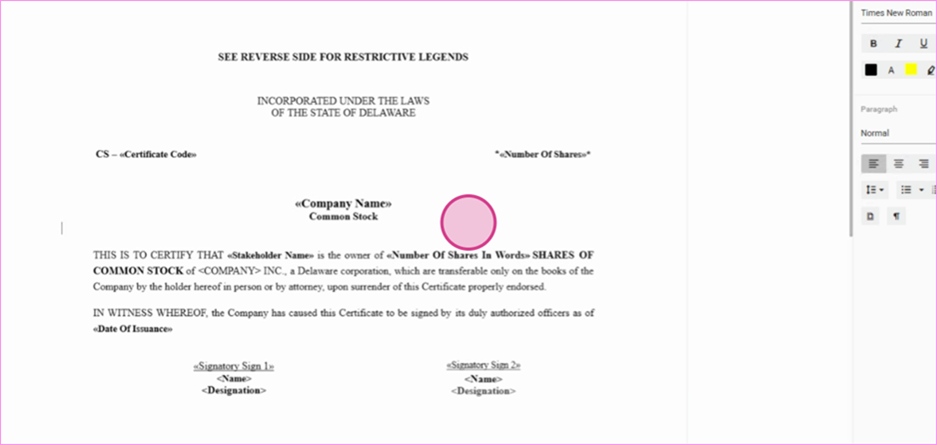
Step 10: Once you’ve added the token, you can adjust its placement and format the text as needed to match your layout and styling preferences.
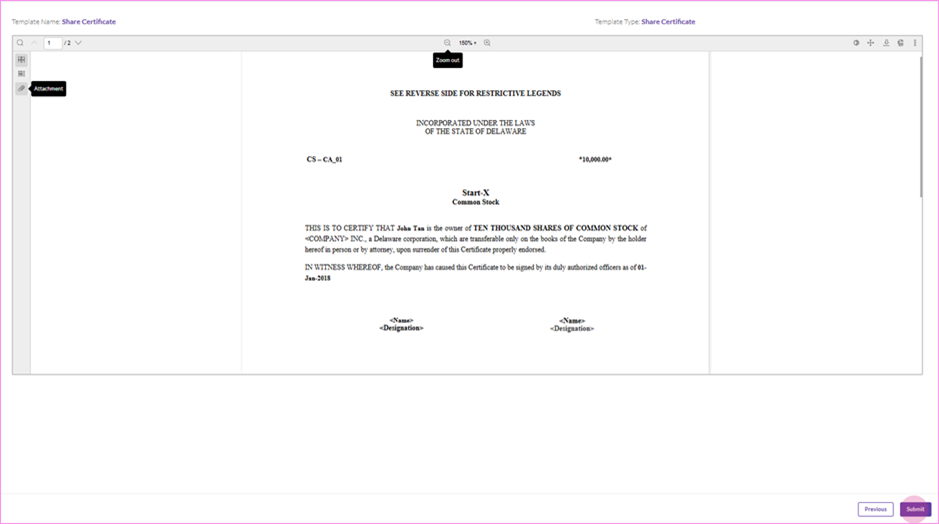
When you’re done, click Next to preview the share certificate. If everything looks correct, click Submit to create your share certificate template:
Step 11: Your cap table is almost complete. You’ve successfully finished the initial set up, and you’re now ready to start adding transactions and confidently manage your equity using Qapita.
Adding Transactions
|
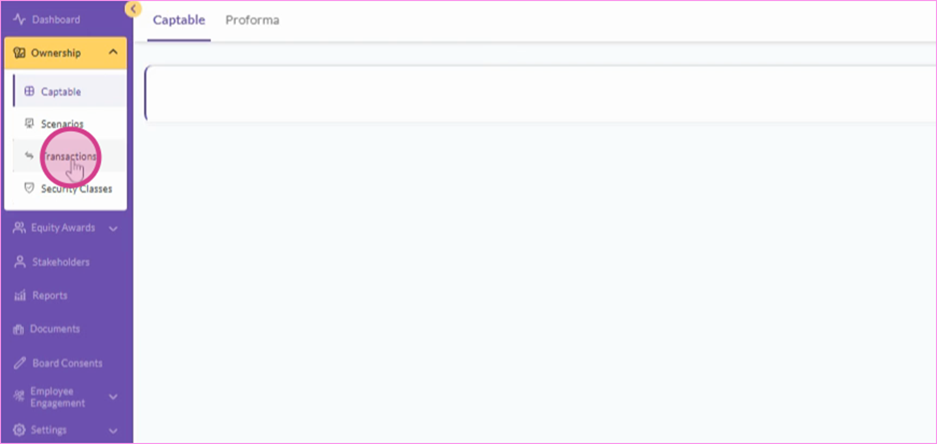
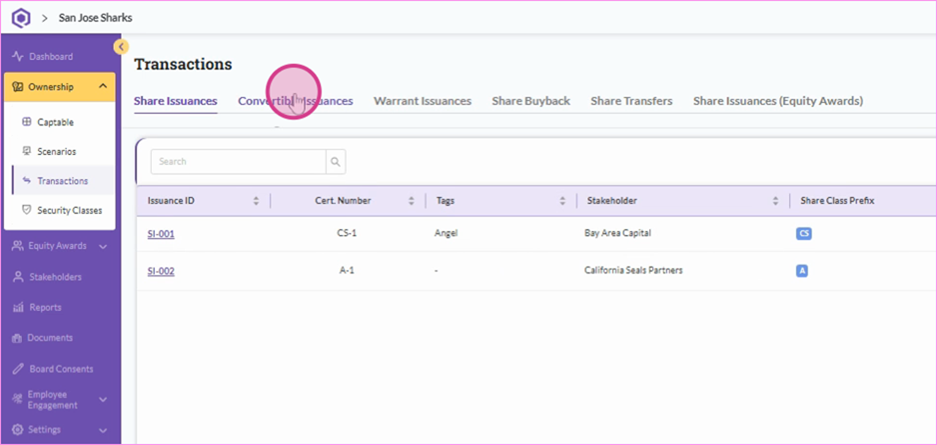
Navigate to the Ownership section on the left-hand menu and click Transaction - this is where all your cap table transactions will be recorded.
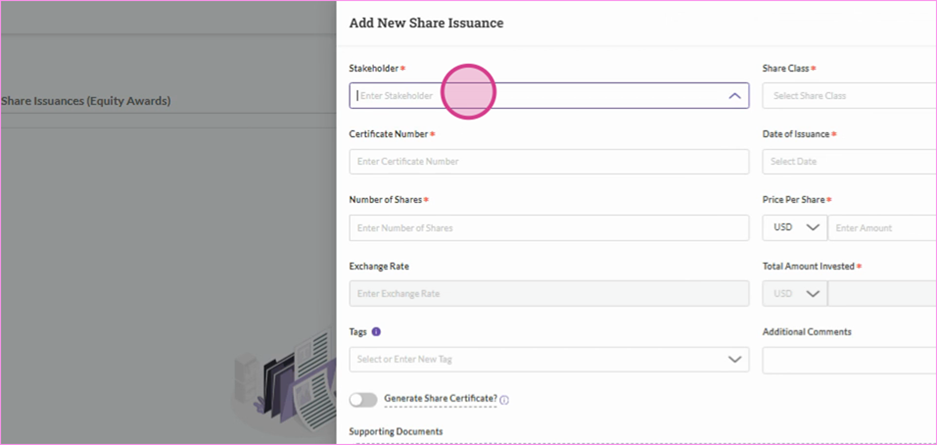
Step 12: Click Add New Share Issuance to record a new transaction. Fill in all the required details, then click Save to complete the entry.
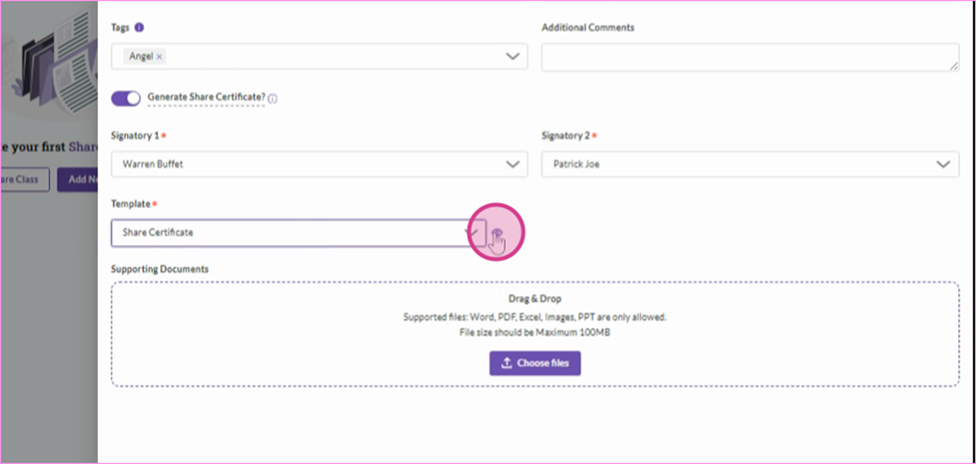
Step 13: After entering all the information, review the generated share certificate to ensure everything looks good. Click Add to create a new transaction.
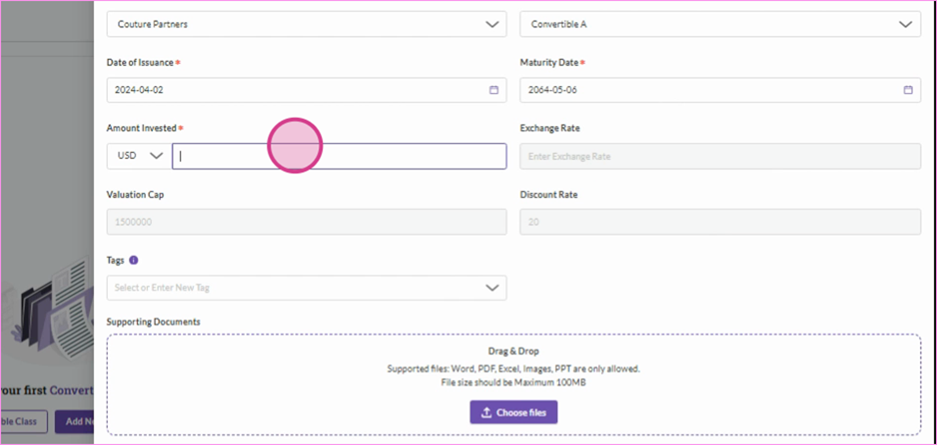
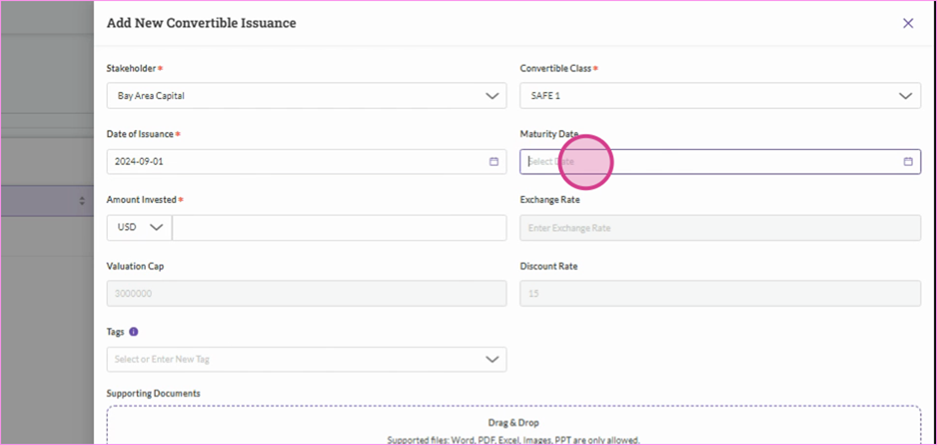
Step 14: To add a Convertible issuance, click on Add New Convertible Issuance under Convertible Issuance. Fill in all the required details, then click Add to complete the entry.
Repeat this process to add as many share and convertible issuances as you need to complete your cap table.
Adding SAFE Notes
In this article, you’ll learn how to add a SAFE note using Qapita.
|
Step 1: Navigate to Ownership and click Security class.
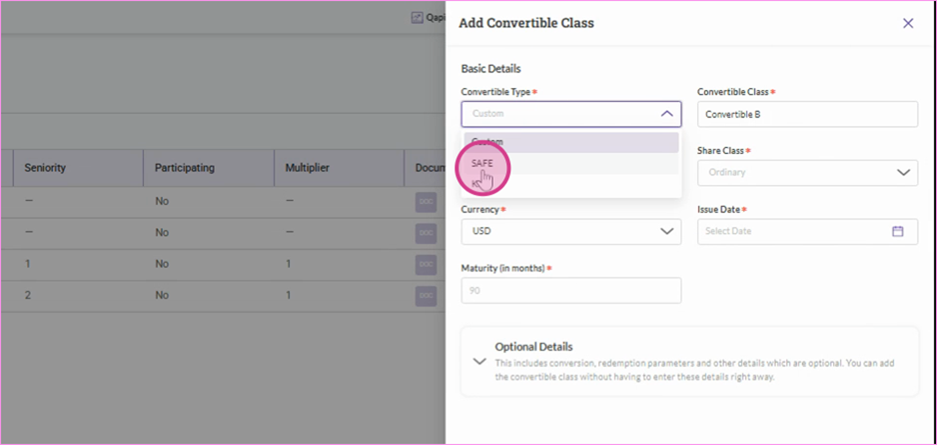
Step 2: In the top right corner, go to Security Classes and select Convertible Class.
Step 3: From the Convertible Type drop-down menu, select SAFE.
Step 4: Fill in all the required details, then click Add to complete the entry.
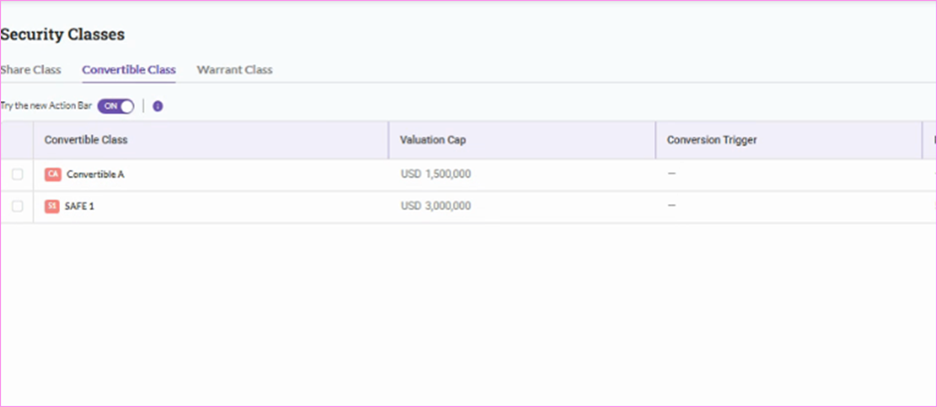
Step 5: You can view your SAFE note class under Convertible class.
Step 6: Next, add a SAFE note transaction, go to Transactions and select Convertible Issuances.
Step 7: To record a new entry, click Add New Transactions, enter all the necessary details, and hit Add to save it.
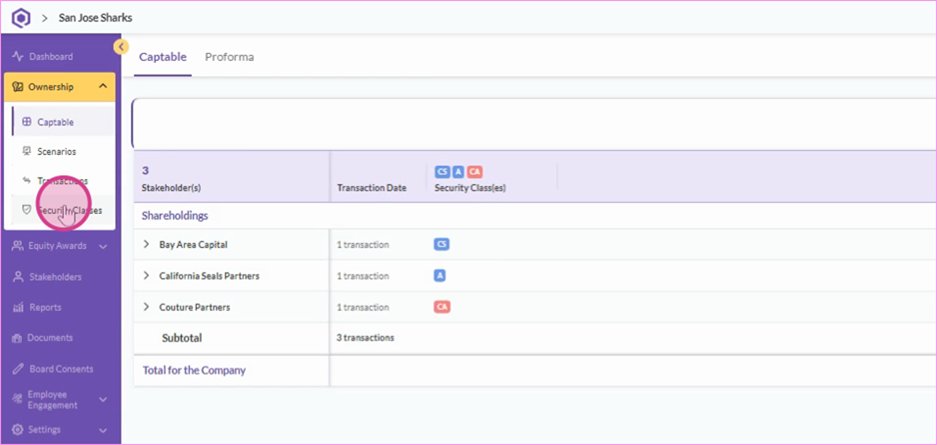
Step 8: Your SAFE transaction is now added. Check it out under the Cap table section under Ownership.
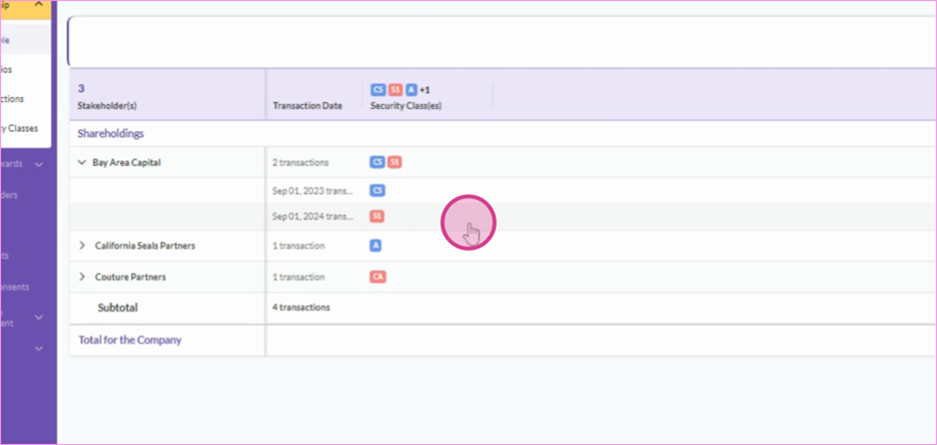
Step 9: For a detailed view of the SAFE note, simply double click on it.
Similarly, just repeat this process to add as many SAFE notes as you need to complete your cap table.
Was this article helpful?
That’s Great!
Thank you for your feedback
Sorry! We couldn't be helpful
Thank you for your feedback
Feedback sent
We appreciate your effort and will try to fix the article