4.1 Access Security
Cap table and equity awards' data can be sensitive, different stakeholders within the organization might need different access levels to the information and data. In Qapita, you can create custom admin role to give each stakeholder the right access.
There are five predefined roles in Qapita: Administrator, Investor, Employee, Advisor, and Board Director. Each role has specific access rights. You can view these five predefine roles' access by navigating to Settings > Manage Role in the left menu.
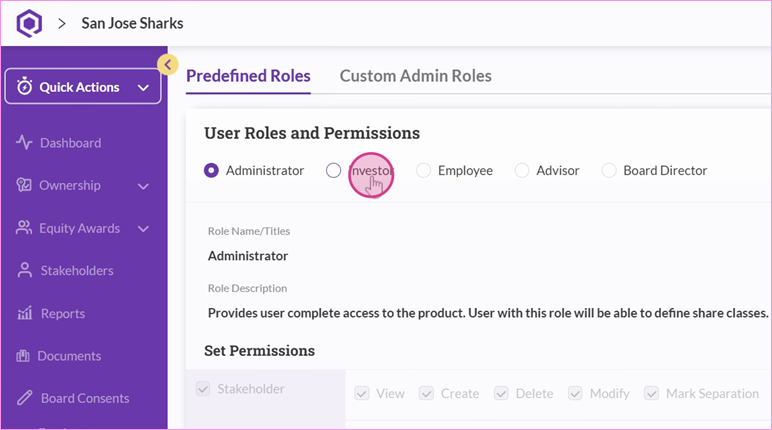
Note that you can't modify these predefined roles. However, you can create custom admin roles to cater to different stakeholders within your organization.
|
Custom Admin Roles
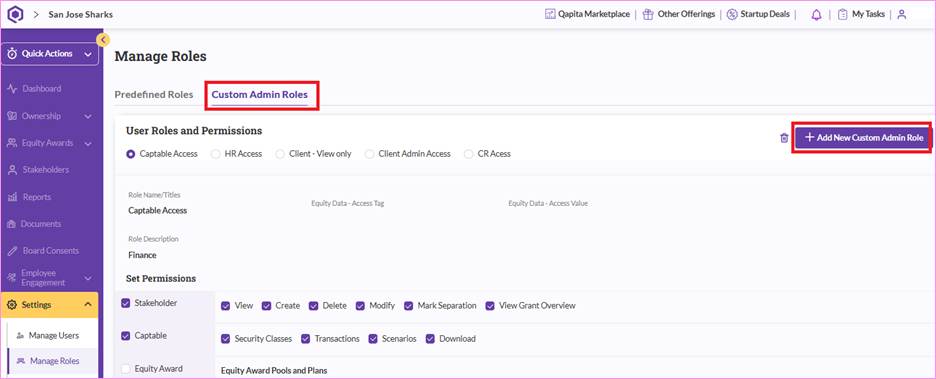
Step 1: Create a custom admin role. Navigate to Settings > Manage Role. Click on “Custom Admin Role”, then select “Add New Custom Admin Role”.
Step 2: Fill in the role name and description. Decide what kind of access you want to give to this custom role. You can set it by function and further refine it by action, such as view only, create, update, or delete.
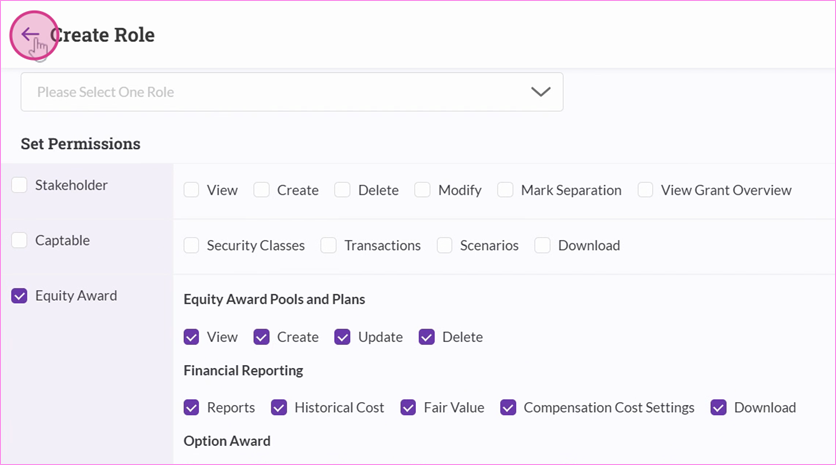
You can adjust permissions as needed. If you want to limit certain actions, simply untick them. Once you've set the permissions, click Save.
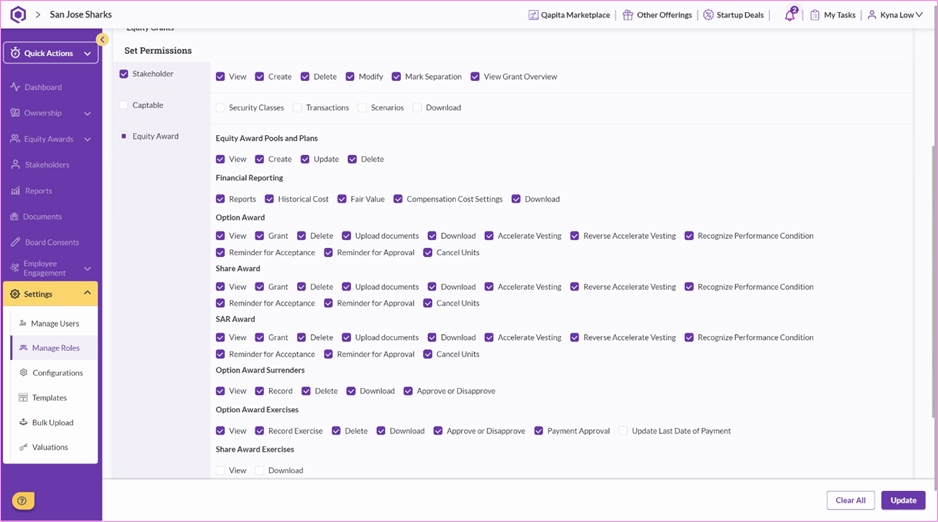
Step 3: You can always review the access of the custom admin role and make changes (if required) after creating the role. Navigating to the Custom Admin Role, adjust the permissions, and click “Update”.
Qapita Login - Multi-Factor Authentication
We have recently introduced mandatory Multi-Factor Authentication (MFA) during login to help keep stakeholder accounts secure. In general, there are 2 ways to login: MFA and Single Sign On (SSO).
Below steps show you how to log into Qapita using the MFA for enhanced security.
|
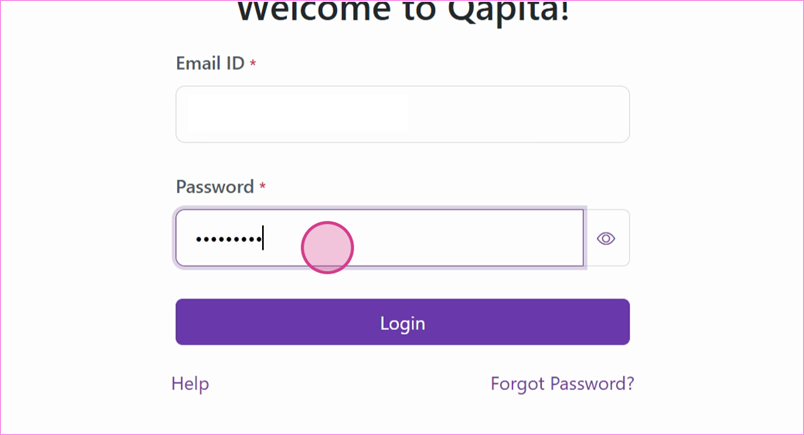
Step 1: Enter your registered email address in the provided field.

Step 2: Click on login. You will then need to enter the password you created when you activated your account. Click on login again.
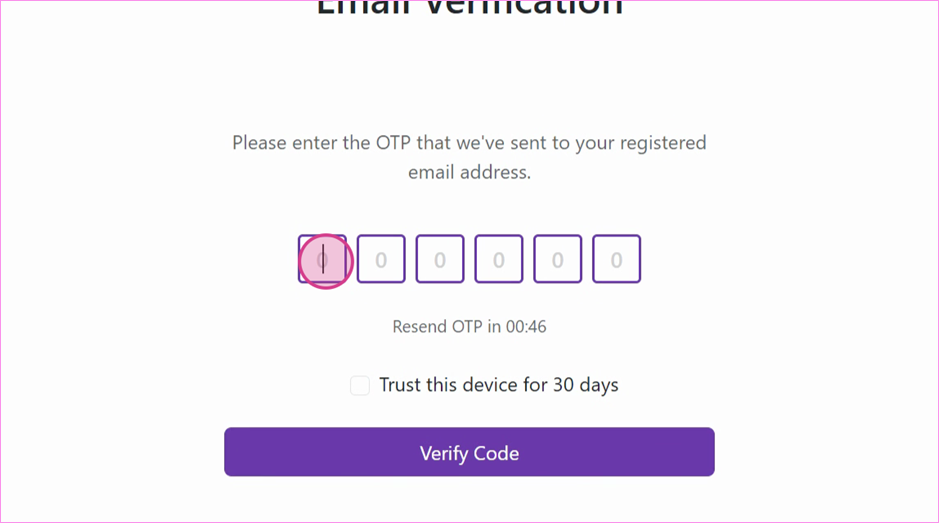
Step 3: The system will send a One-Time Password (OTP) to your email address. Enter the OTP sent to your email.
Step 4: If you prefer not to receive an OTP for the next 30 days each time you log in, check the box indicated and click on the "Verify Code".
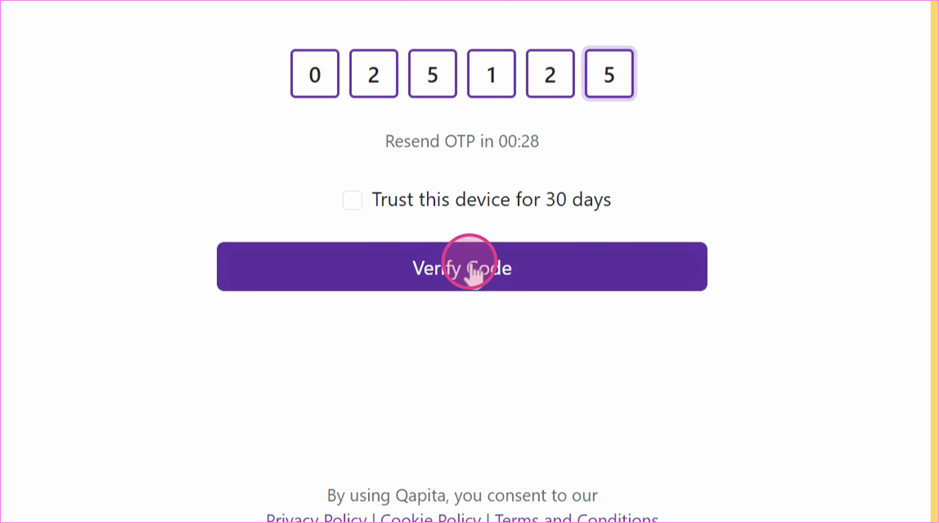
Step 5: After verification, you're logged into your account where you can view all your account details.
Things to Note
If your account is integrated with Single Sign-On (SSO), you will not need to enter a One-Time Password (OTP) when logging in.
Was this article helpful?
That’s Great!
Thank you for your feedback
Sorry! We couldn't be helpful
Thank you for your feedback
Feedback sent
We appreciate your effort and will try to fix the article