2.2 Transactions
In this guide, we'll explore how to navigate the transactions module, add, edit, and manage transactions, and generate reports on the cap table.
|
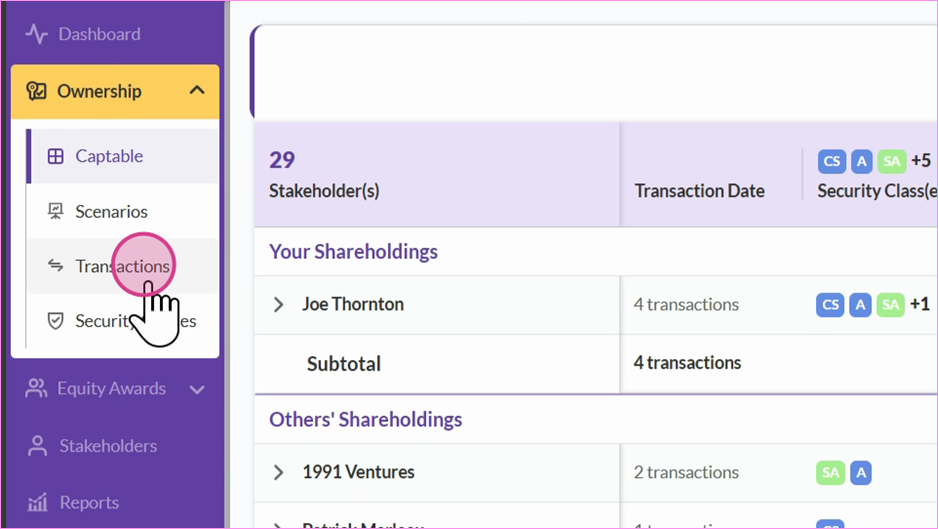
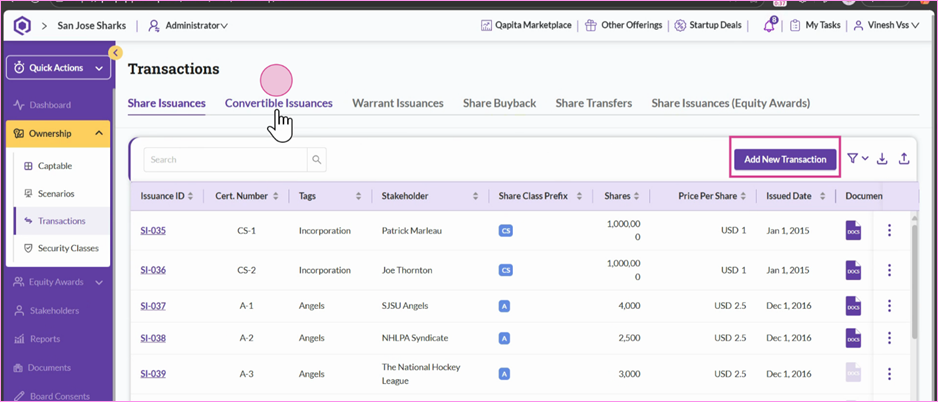
Step 1: Navigate to the Transactions module where all transactions are categorized into share issuances, convertibles, warrants, share transfers, and the data on stock options that have been exercised into shares.
Step 2: Select the type of transaction you wish to add. For example, to add a convertible issuance, click on Convertible Issuance and then Add New Transaction.
Step 3: If you need to make changes to an existing transaction, click on the three dots next to the transaction, select Edit Transaction, and make the necessary adjustments.
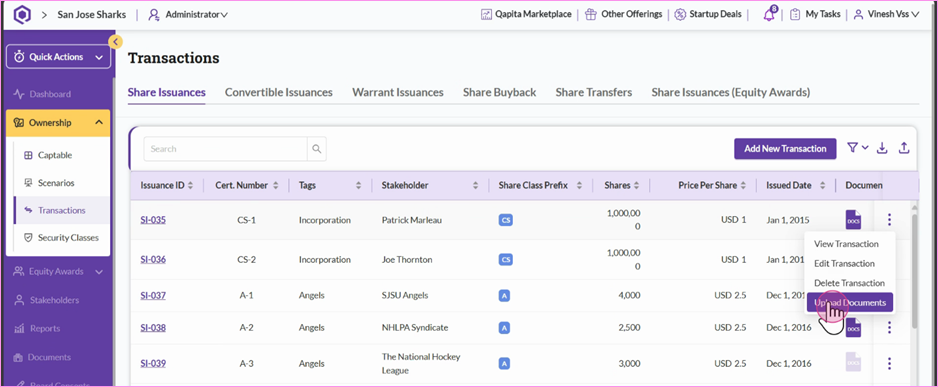
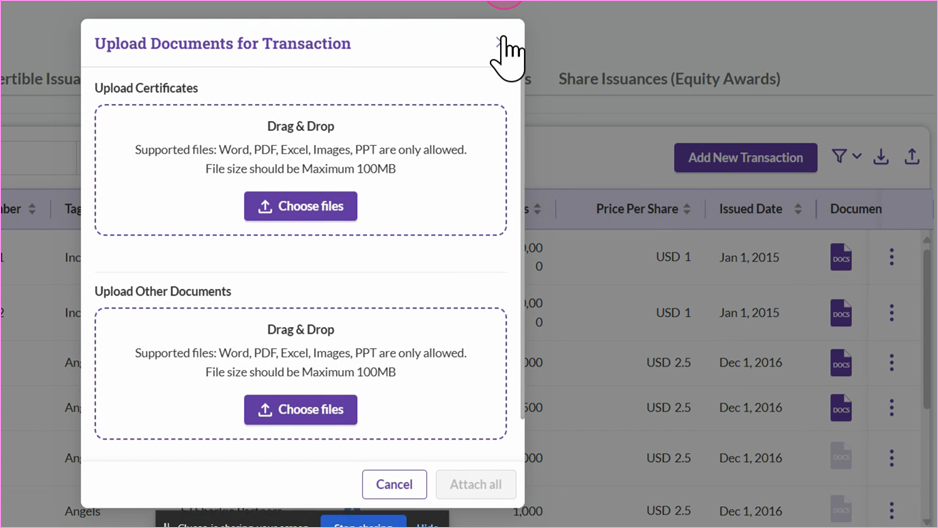
Step 4: To upload documents, choose the type of document you wish to upload, such as share certificates, and then proceed with the upload.
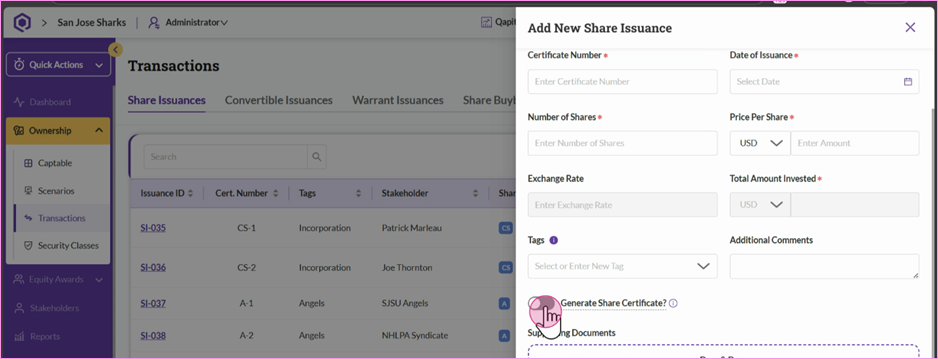
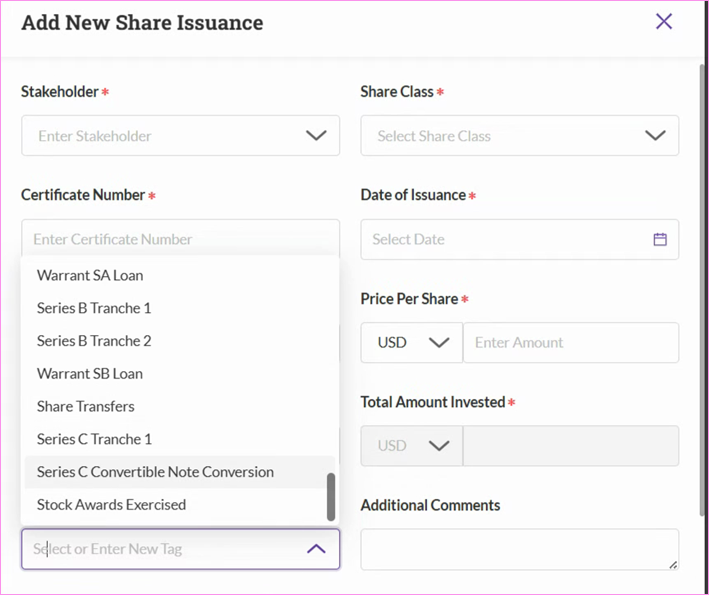
Step 5: When adding a new transaction, fill out all mandatory fields marked with a red star. If you need to generate a new share certificate, ensure that you have added the signatory and template from the settings first.
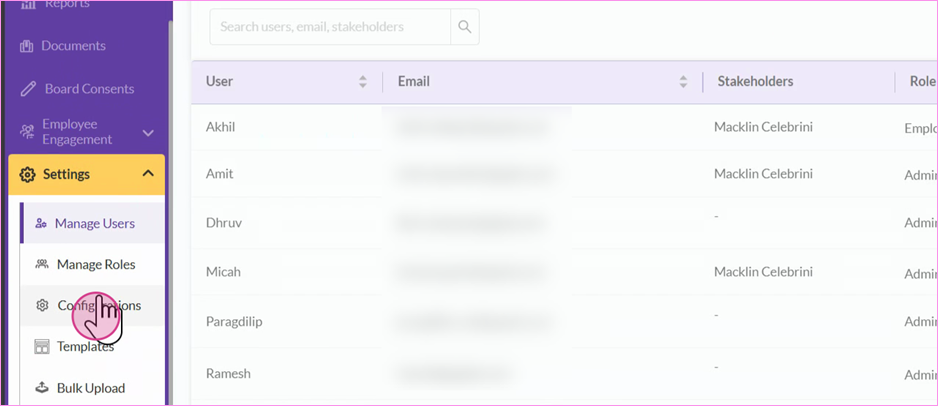
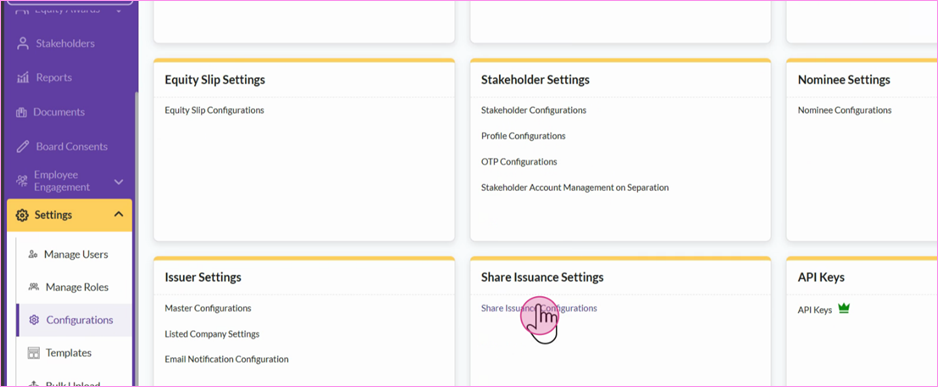
Step 6: To configure share issuance settings, navigate to Settings and Configurations, then select Share Issuance Configuration. Here, enable Share Certificate Generation. If an approval workflow is necessary, also add approver and signatory names.
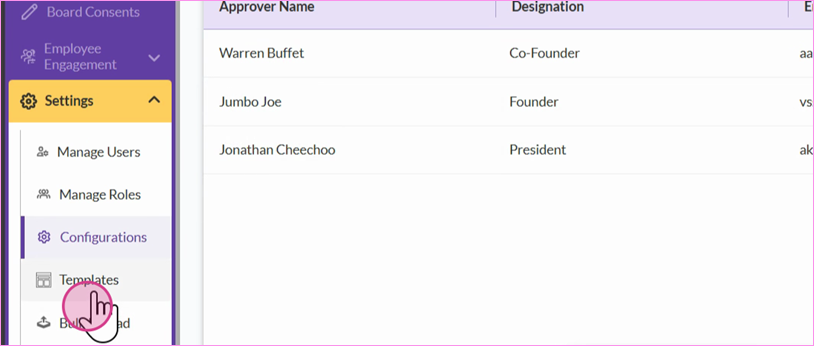
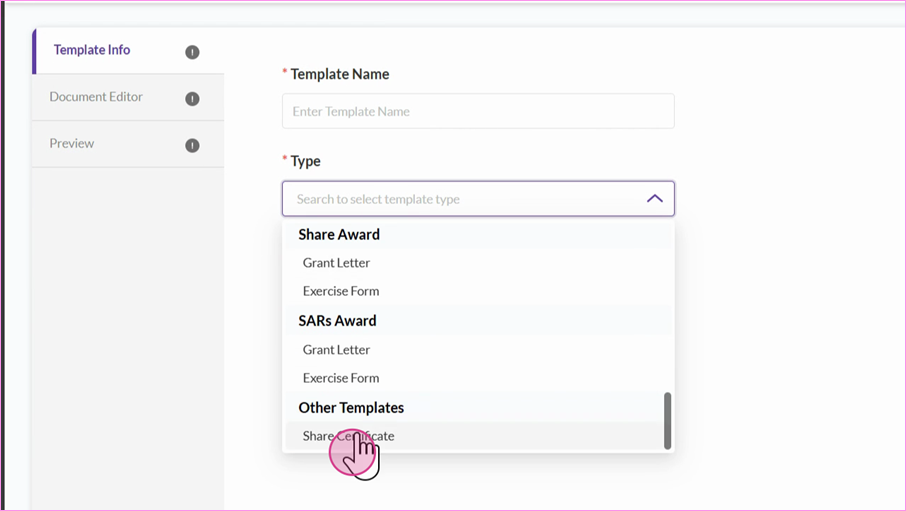
Step 7: To add a share certificate template, navigate to the Templates section and select Add new template.
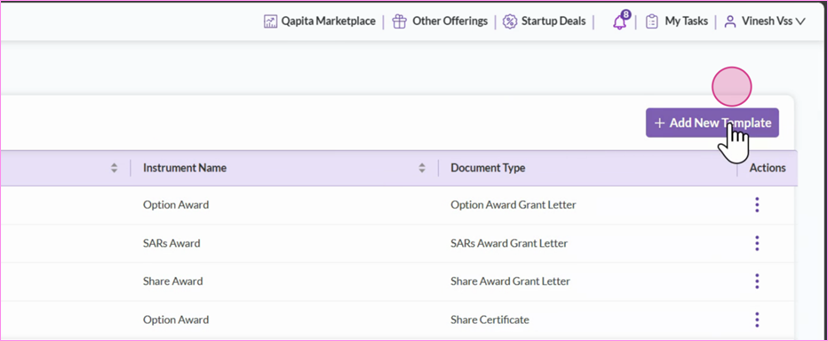
Step 8: Choose Share Certificate from the options available.
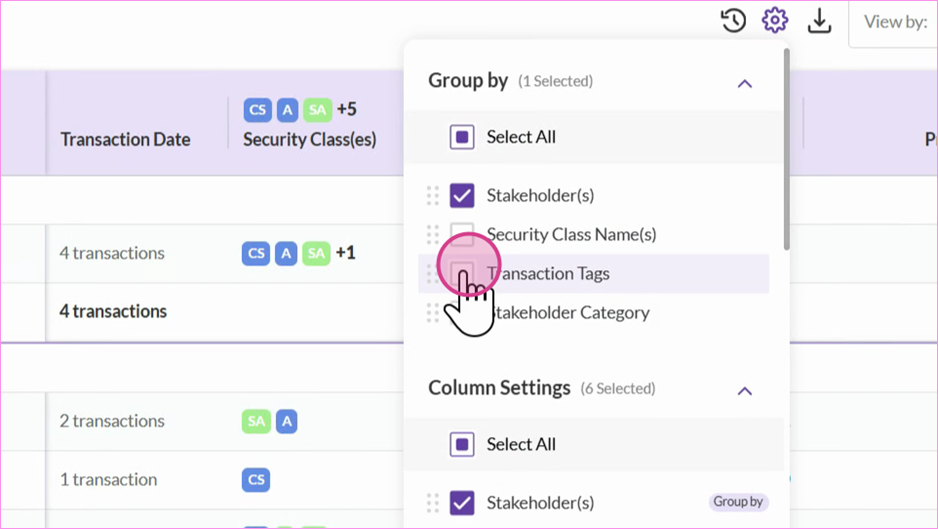
Step 9: Use transaction tags to organize your cap table.
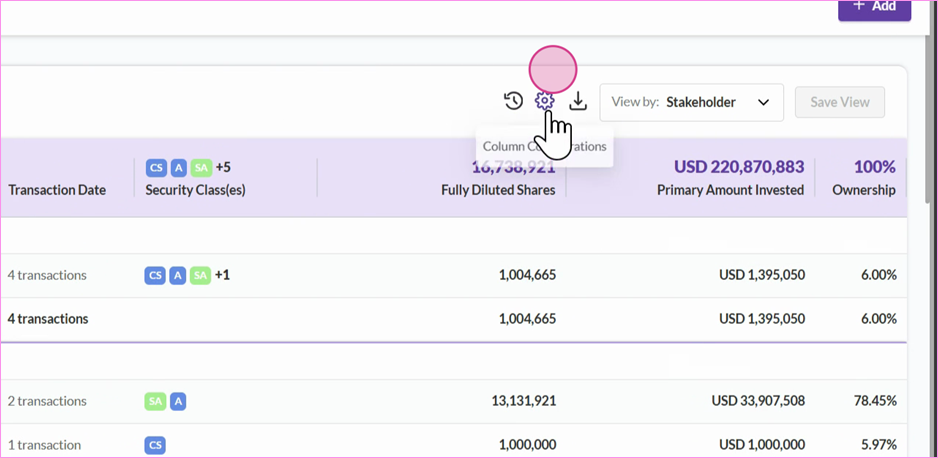
To group your cap table based on transaction tags, navigate to the cap table and click the Settings icon.
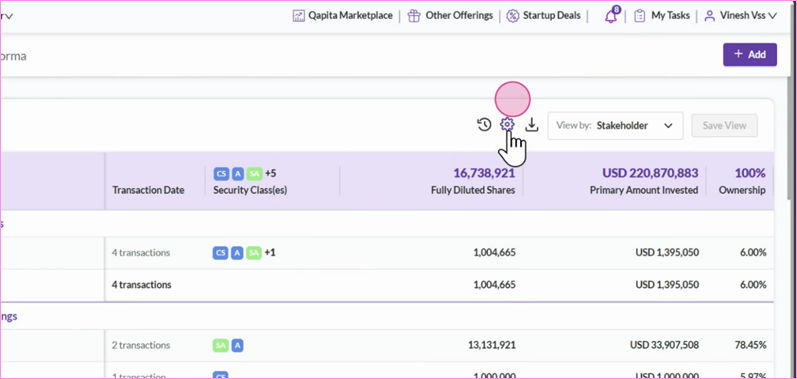
Step 11: Group your entire cap table by transaction tags.
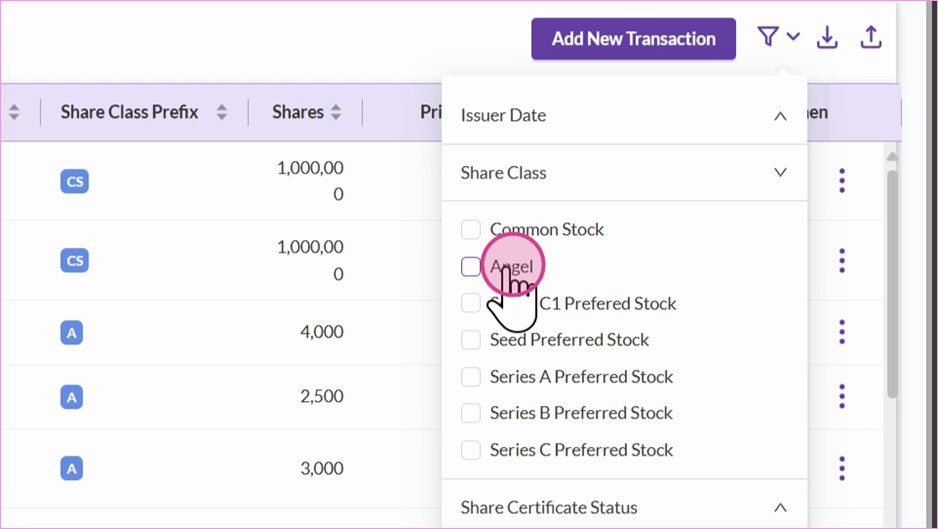
In the transactions section - You can filter share issuances by specific share classes to view a particular set of transactions. For instance, if you want to see only angel investor transactions.
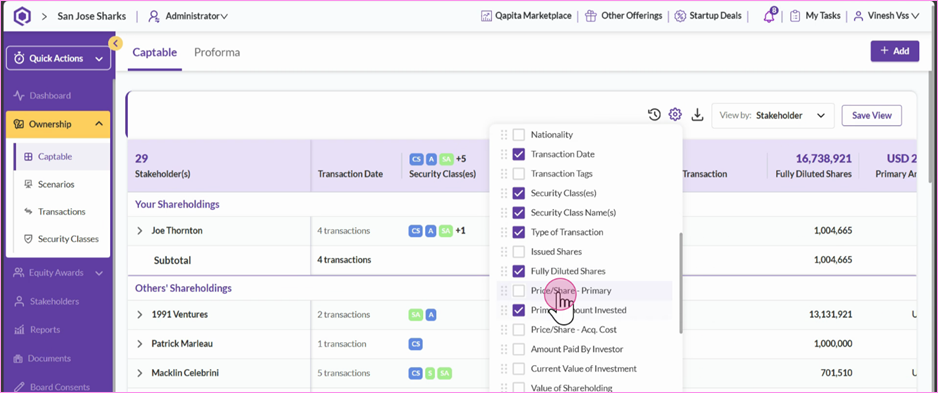
Customize the cap table by adding more columns. Go to the settings section, select options like security class name, type of transactions, price per share, and other fields as needed. This allows you to scroll through the table and understand various columns. If needed, download the customized columns for further analysis.
Was this article helpful?
That’s Great!
Thank you for your feedback
Sorry! We couldn't be helpful
Thank you for your feedback
Feedback sent
We appreciate your effort and will try to fix the article